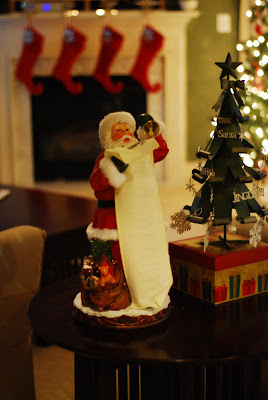
I picked this Santa and Tree up about a month ago and it was exactly what I needed to go on this table. I wanted the Christmas Tree to be a little taller than Santa so I decided to look for a decorative box that I could set the tree on. I found this perfect little box at Target. It has gifts all around it so it looks like presents under the tree. (I have also used this trick to make 2 different lamps the same height by placing books under one lamp to make it taller.)

As much as I love the actual display in my home I AM BLOWN AWAY BY THE PHOTO OF IT! I love the narrow depth of field showing a blurred set of stockings hanging from the mantel and the way our real Christmas tree is creating back lighting for the little tree.

I am really happy the warm tones in this photograph of the Santa Train. I really nailed the white balance!

I love the blurred Santa in the upper right hand corner of this photo, again using shallow Depth of Field to tell the story.
It was a rainy, yucky day today so I didn't get photos of the outside of our house. As soon as the weather cooperates I'll post some photographs of the outdoor decor. I am thrilled with what I pulled together for my front porch and that is saying a lot because, as rob pointed out to me today, I am usually my toughest critic so if I'm thrilled it must be good!


